
Pumpkin Drawing Tutorial with Pictures: Step-by-Step for Beginners
Introduction: Pumpkin Drawing Tutorial with Pictures
Welcome to this pumpkin drawing tutorial with pictures, perfect for beginners, kids, and anyone who loves seasonal art! Pumpkins symbolize fall, Halloween, and harvest celebrations. Drawing them provides a fun, relaxing, and creative way to get inspired, express yourself, and enjoy the seasonal spirit while practicing your artistic skills, exploring your imagination, and discovering new creative drawing techniques every single day. Whether you want to make a simple pumpkin sketch, a spooky jack-o’-lantern, a cute cartoon pumpkin, or even a whimsical fantasy pumpkin, this guide walks you through step-by-step instructions with pictures to make the process easy and enjoyable for all skill levels.
Beginner-Friendly Pumpkin Drawing
If you’ve never drawn a pumpkin before, don’t worry! This tutorial helps beginners start with the basic shapes and gradually add details, textures, and colors. You’ll learn how to create realistic pumpkin ridges, a charming stem, expressive features, and shading that makes your pumpkin look three-dimensional. Following this pumpkin drawing tutorial with pictures, even kids can achieve amazing results without feeling frustrated or overwhelmed.
Visual Step-by-Step Instructions
One of the best things about this guide is its visual format. Each step includes clear pictures so you can see exactly how to draw your pumpkin. This approach makes it easier to follow than text-only instructions and suits visual learners perfectly. You’ll also discover creative ideas for Halloween pumpkin drawings, including fun jack-o’-lantern faces and colorful cartoon pumpkins. Kids can use these ideas for art projects, school assignments, or holiday decorations.
By the end of this pumpkin drawing tutorial with pictures, you’ll create a beautiful pumpkin sketch to show off. You’ll gain confidence in your drawing skills and enjoy a fun way to celebrate the season. Whether you decorate your classroom, home, or spend a cozy afternoon crafting, grab your pencils, crayons, or markers and start creating your very own pumpkins step by step!
Getting Started: Materials You’ll Need-pumpkin drawing tutorial with pictures
Before starting, gather your drawing supplies:
- Pencil (HB or 2B recommended)
- Eraser
- Sharpener
- Colored pencils, crayons, or markers (optional)
- Drawing paper
Tip for kids: Use washable markers or crayons for safe and colorful pumpkin sketches.
Step 1 – Sketch the Fundamental Pumpkin Outline: pumpkin drawing tutorial with pictures
Begin by sketching a large oval or gently rounded form to create the pumpkin’s body.. This forms the foundation of your pumpkin.
Tips for Beginners
- Keep your lines light so you can erase easily.
- Don’t worry about perfection—pumpkins naturally have unique shapes.
Step 2 – Sketch Pumpkin Ridges: pumpkin drawing tutorial with pictures
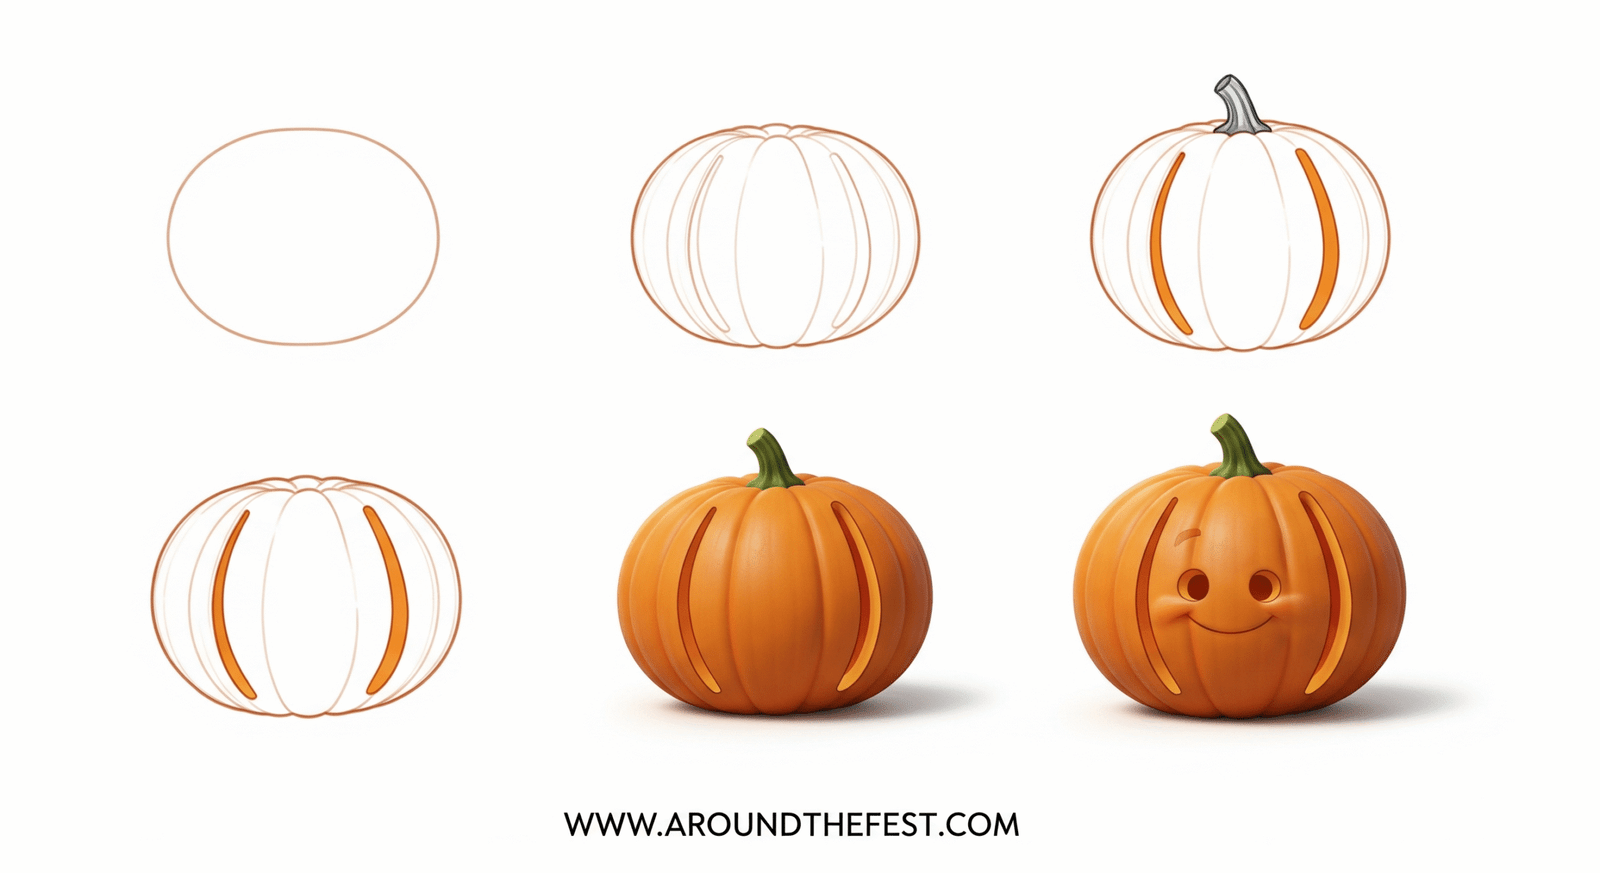
Draw curved vertical lines from the top near the stem to the bottom. These lines create the pumpkin’s characteristic ridges.
Tips for a Natural Look
- Curve some lines slightly for a realistic appearance.
- Kids can make wavy or playful lines for a cartoon-style pumpkin.
Step 3– Add the Pumpkin Stem: pumpkin drawing tutorial with pictures
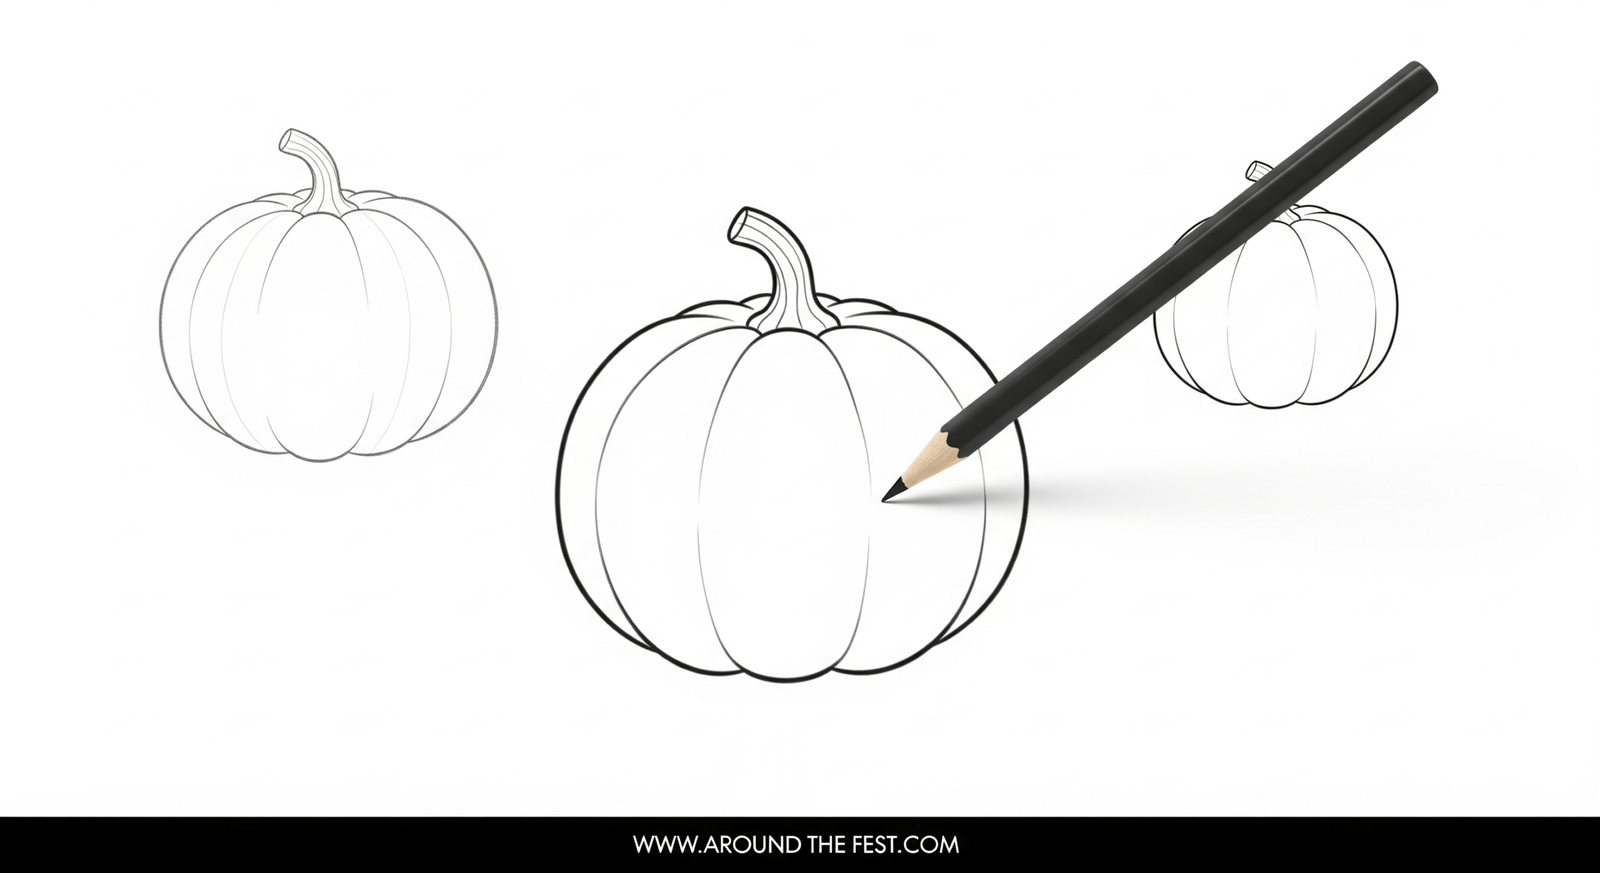 Draw a short, slightly curved rectangle or cylinder shape at the top for the stem. Make it thicker at the base and taper it slightly at the top.
Stem Details
Add tiny lines or soft curves to give it a natural look.
Step 4 – Add Details and Features: pumpkin drawing tutorial with pictures
Now you can add features depending on your pumpkin type:
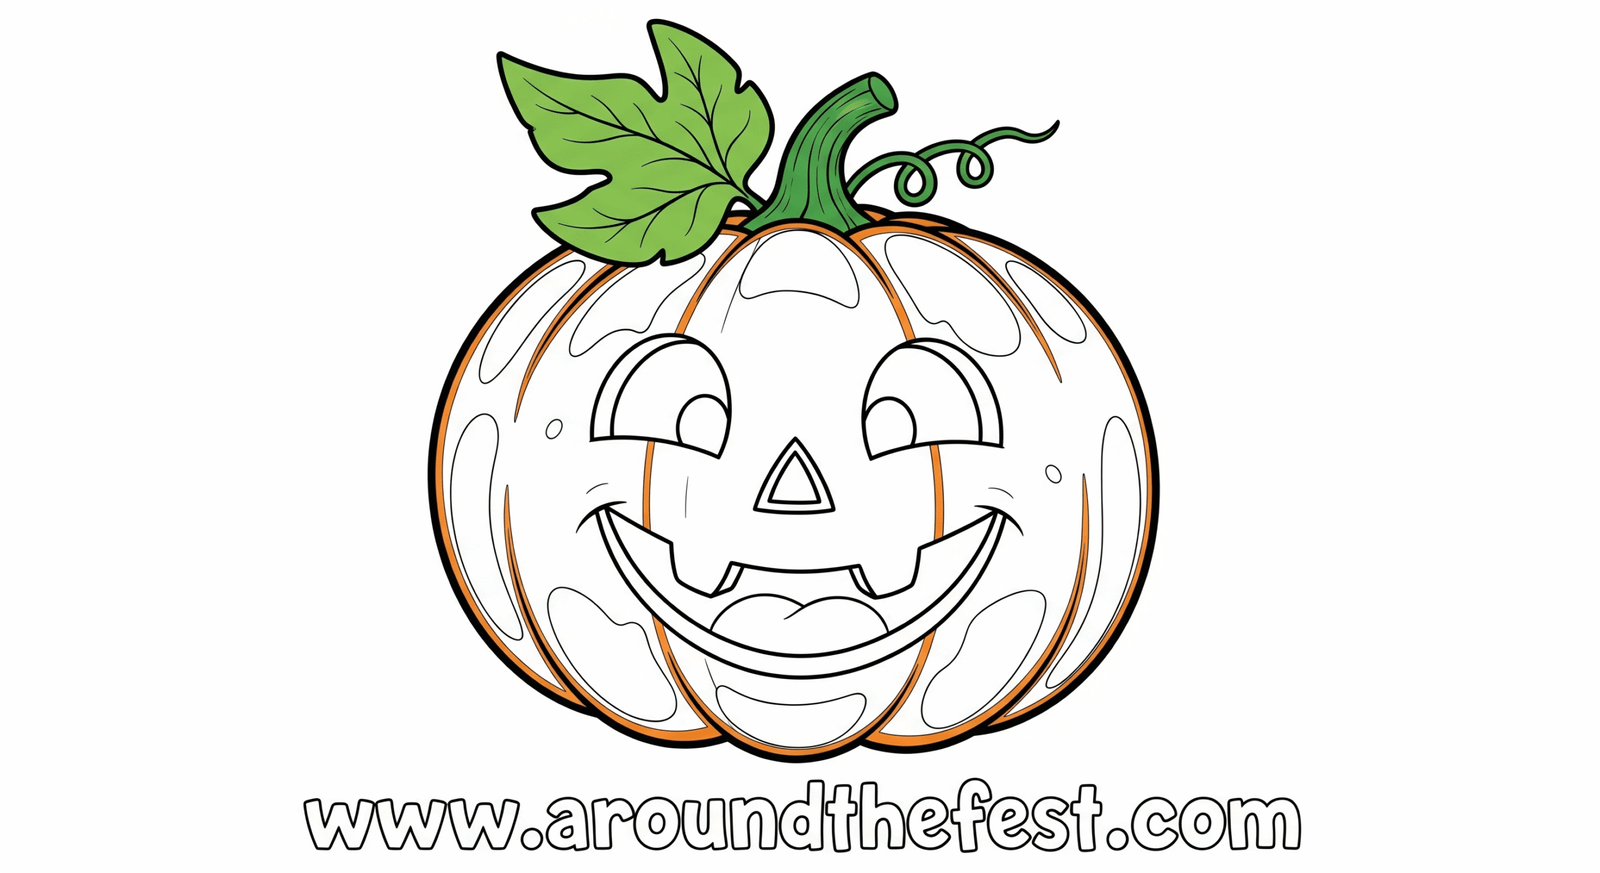
Spooky Halloween Pumpkin
Draw eyes, nose, and mouth for a classic jack-o’-lantern.
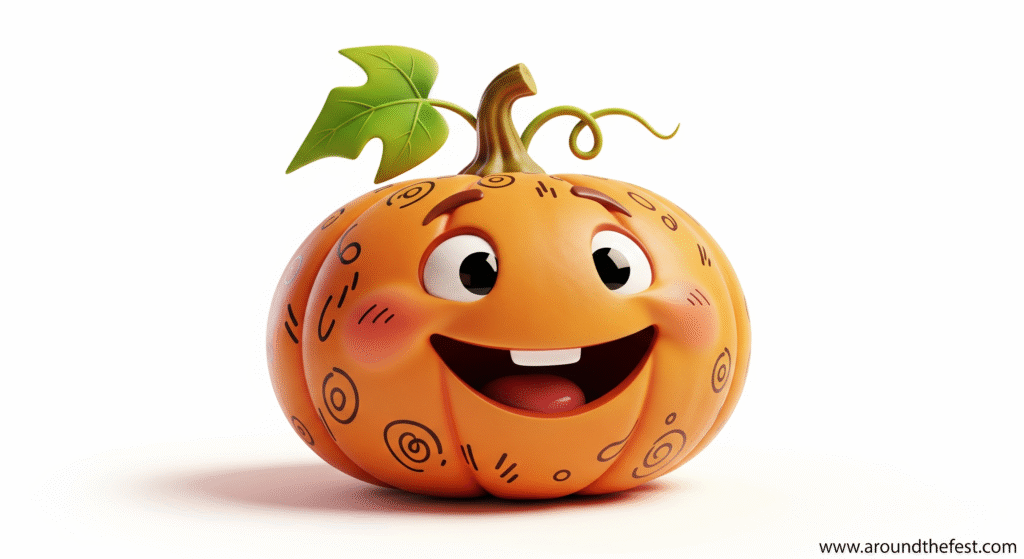
Cute Cartoon Pumpkin
Add a smiling face, big round eyes, or fun expressions.
Whimsical Fantasy Pumpkin
Include patterns, stars, leaves, or imaginative designs.
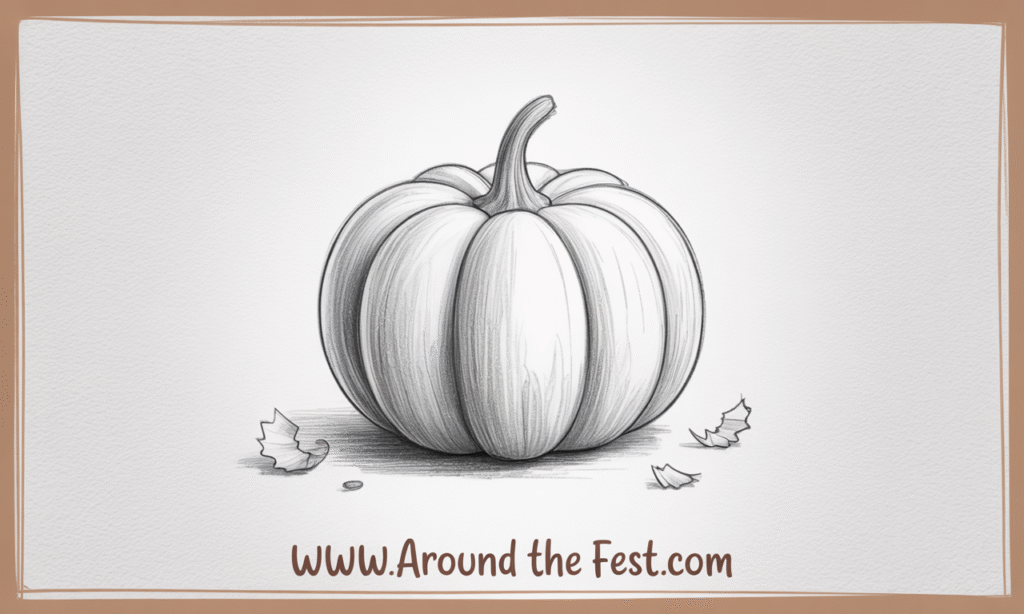
Step 5 – Shade and Color Your Pumpkin: pumpkin drawing tutorial with pictures

- Add shading to give your pumpkin a 3D effect:
- Shade along the ridges lightly for depth.
- Shade the pumpkin with an orange hue and the stem with brown or green tones.
- Highlight with an eraser or white pencil for dimension.
Kid-Friendly Tips
- Experiment with blending colors.
- Add a shadow below the pumpkin to make it realistic.
Step 6 – Add Background or Decorations (Optional)
Decorate around your pumpkin with leaves, vines, or Halloween-themed items. This makes your drawing unique and seasonal.
Fun Tips for Kids and Beginners
- Practice drawing pumpkins of different shapes and sizes.
- Make funny or spooky faces for Halloween.
- Use glitter, stickers, or colored markers for decoration.
Remember: mistakes make your pumpkin unique!
Expert Tips to Elevate Your Drawing-pumpkin drawing tutorial with pictures
Shading Advice – Decide on a light source. Shade the pumpkin ridges darker, leaving the center lighter to give it a 3D effect.
Perspective Trick – Tilt the pumpkin slightly to add dimension and make it look more natural.
Color Blending – Use layers of orange, yellow, and red to create depth and realism.
Digital Bonus – Scan your sketch and use tools like Procreate or Photoshop for clean shading and finishing touches.
Tip: Small changes like shading and tilt make your pumpkin look professional even for beginners.
Common Beginner Mistakes and Fixes-pumpkin drawing tutorial with pictures
Flat Pumpkin – Add curved lines and shading to create roundness.
Over-Detailing Too Early – Focus on the pumpkin’s basic shape before adding intricate lines.
Poor Symmetry – Use light guidelines for ridges and stem placement.
Tip: Mistakes are part of learning. Correcting them helps you improve faster.
Creative Applications & Shareability-pumpkin drawing tutorial with pictures
Turn it into Crafts – Greeting cards, gift tags, or fall decor.
Add Personality – Cute, funny, or spooky Jack-O’-Lantern faces.
Share Online – Post your work on social media with a branded hashtag like #MyNameDrawsPumpkins to inspire others and get feedback.
Tip: Shareable drawings help your tutorial gain reach and engagement.
Inspiration Gallery-pumpkin drawing tutorial with pictures
Cartoon Style – Simple, fun lines for kids or beginners.
Realistic Shading – Layer colors and add ridge details for a 3D look.
Quirky Faces – Add playful or spooky expressions for fun variation.
Cute Pumpkin Variations to Try-pumpkin drawing tutorial with pictures
1.kawaii pumpkin drawings
coloring sketch
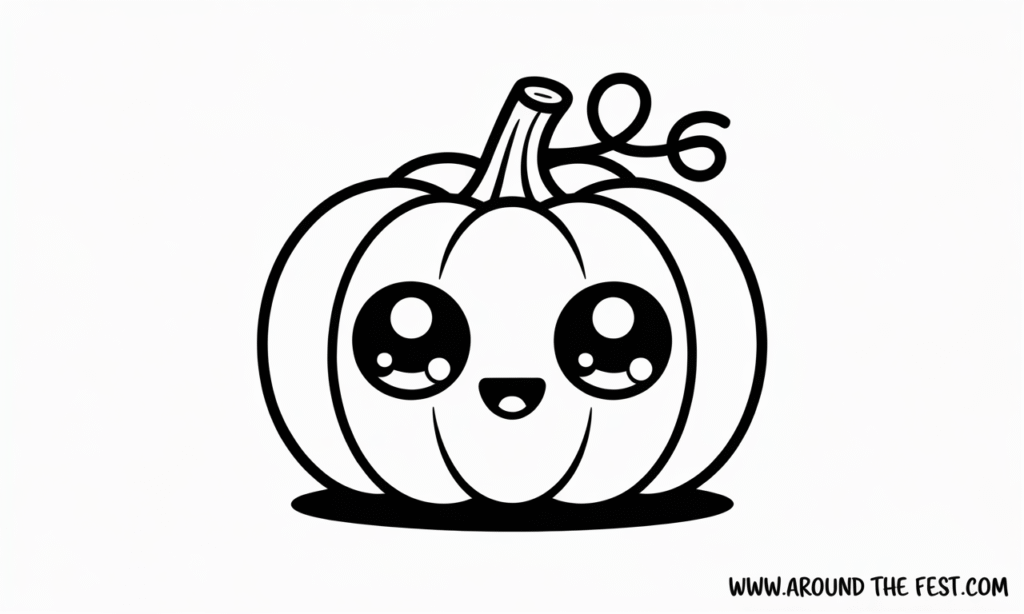
2.Smiling Kawaii Pumpkin Drawing

coloring sketch
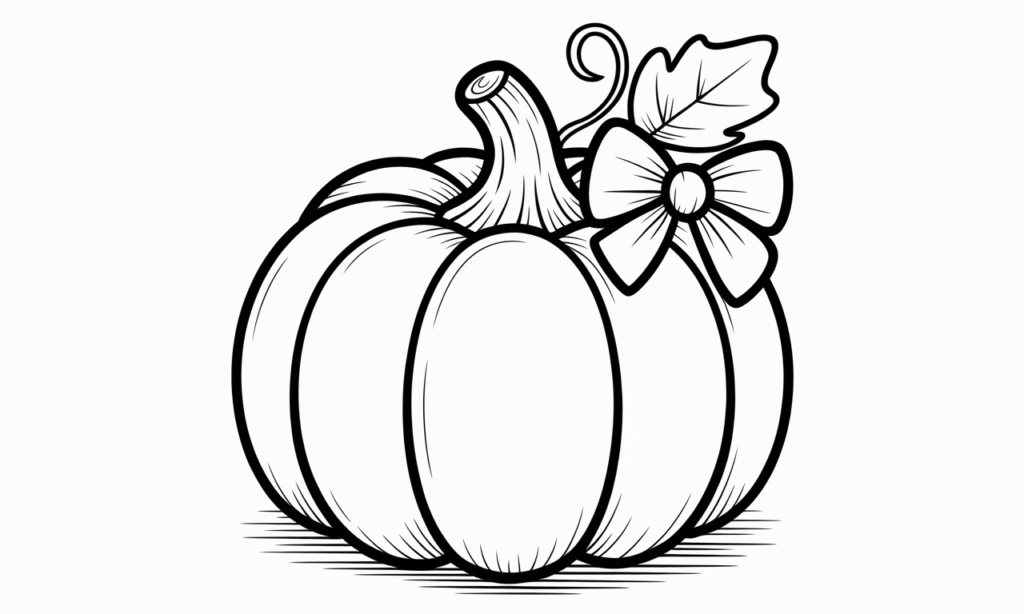
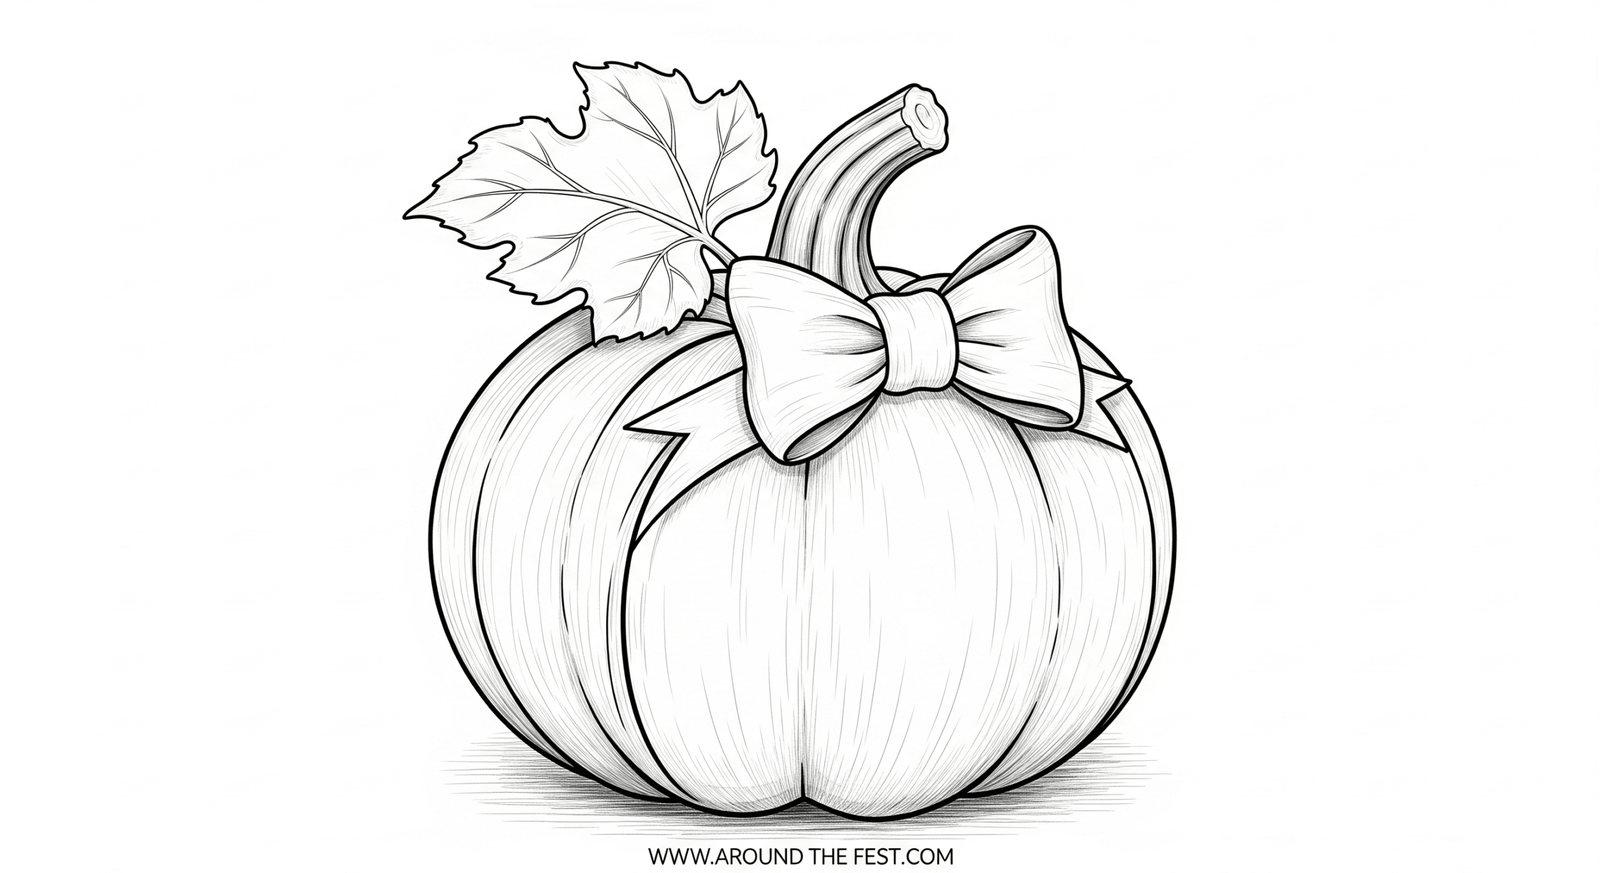
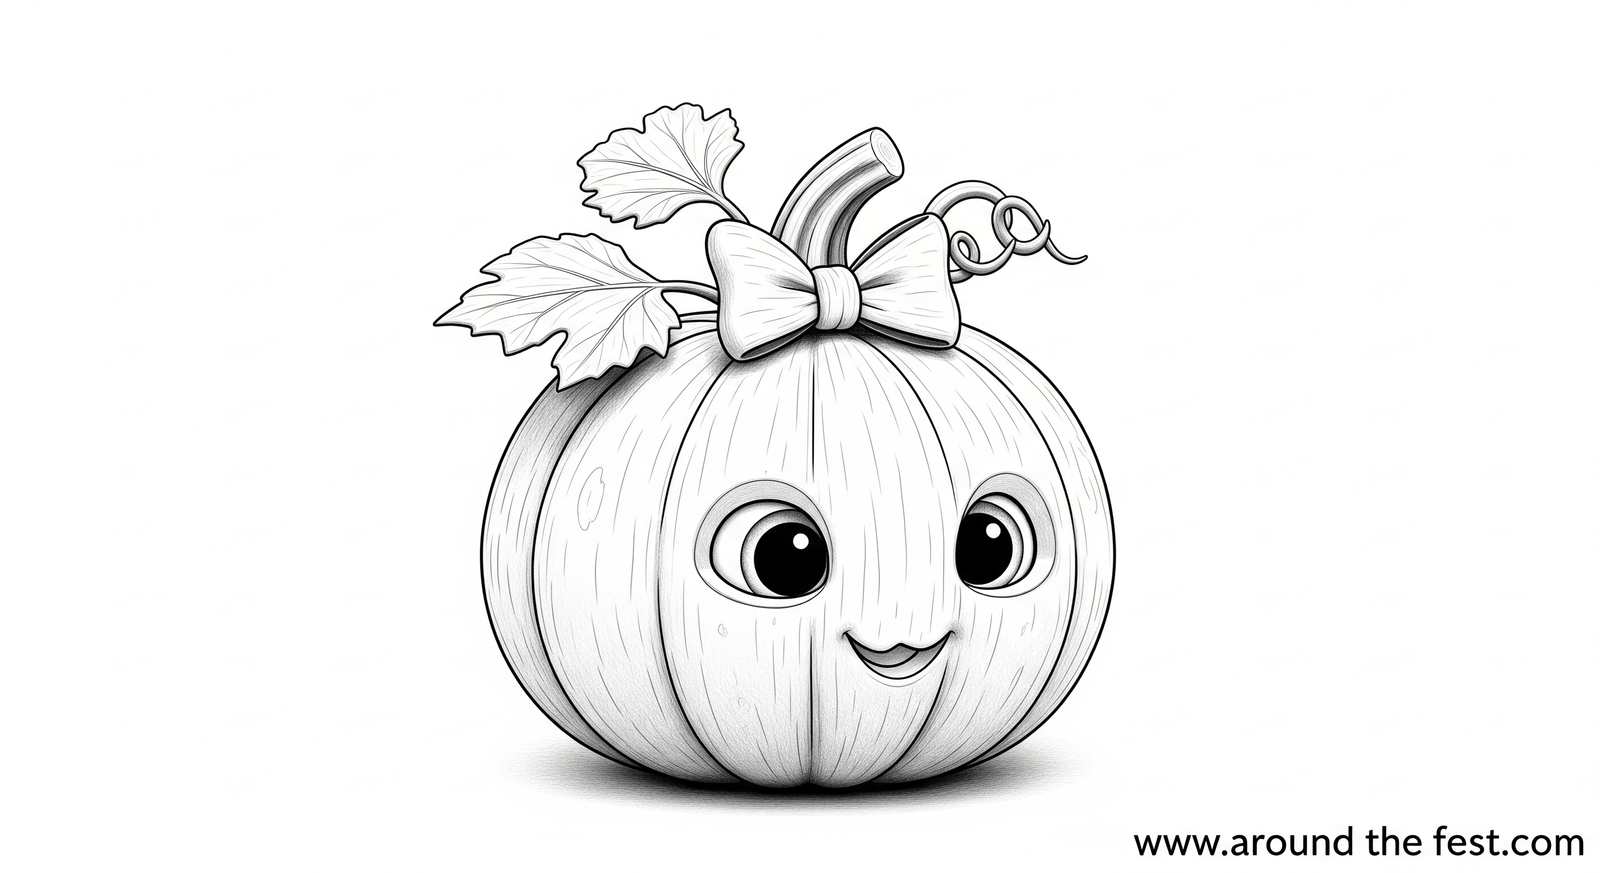
 3. Baby Pumpkin with Bow
coloring sketch 1

2
3
4
5

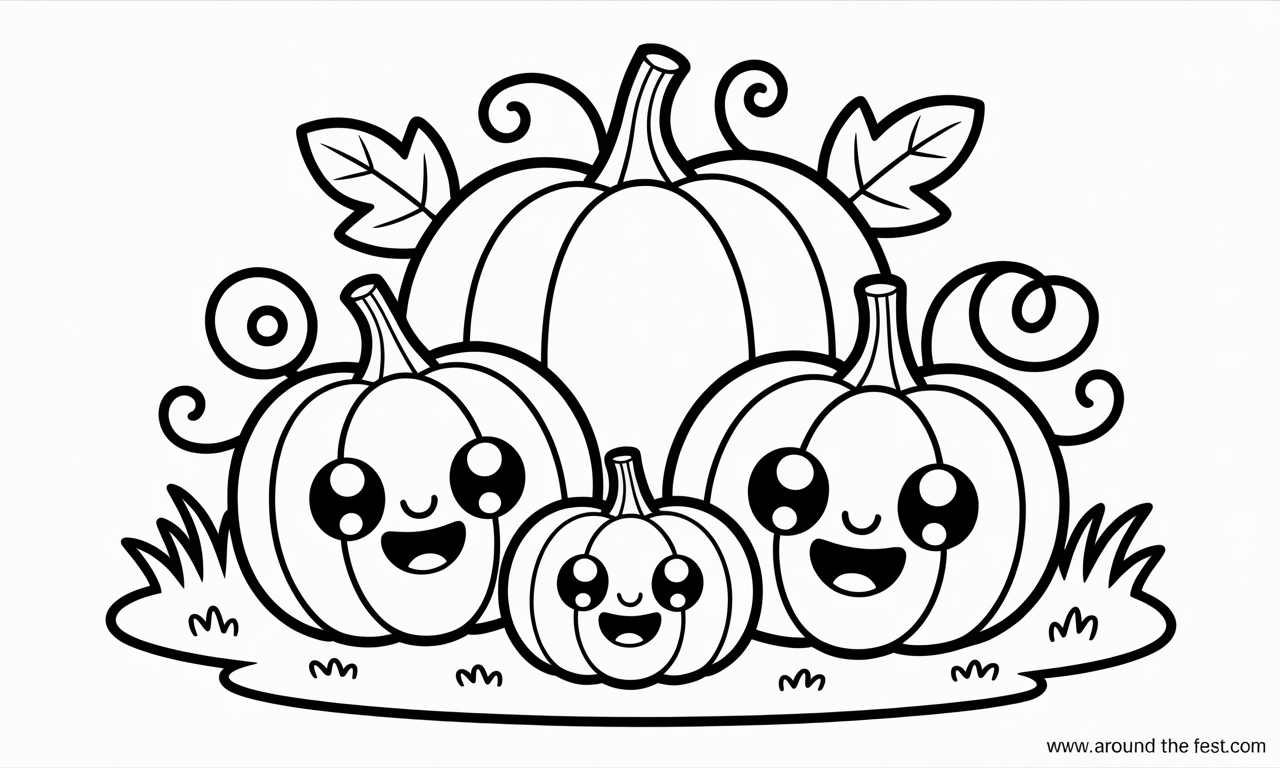
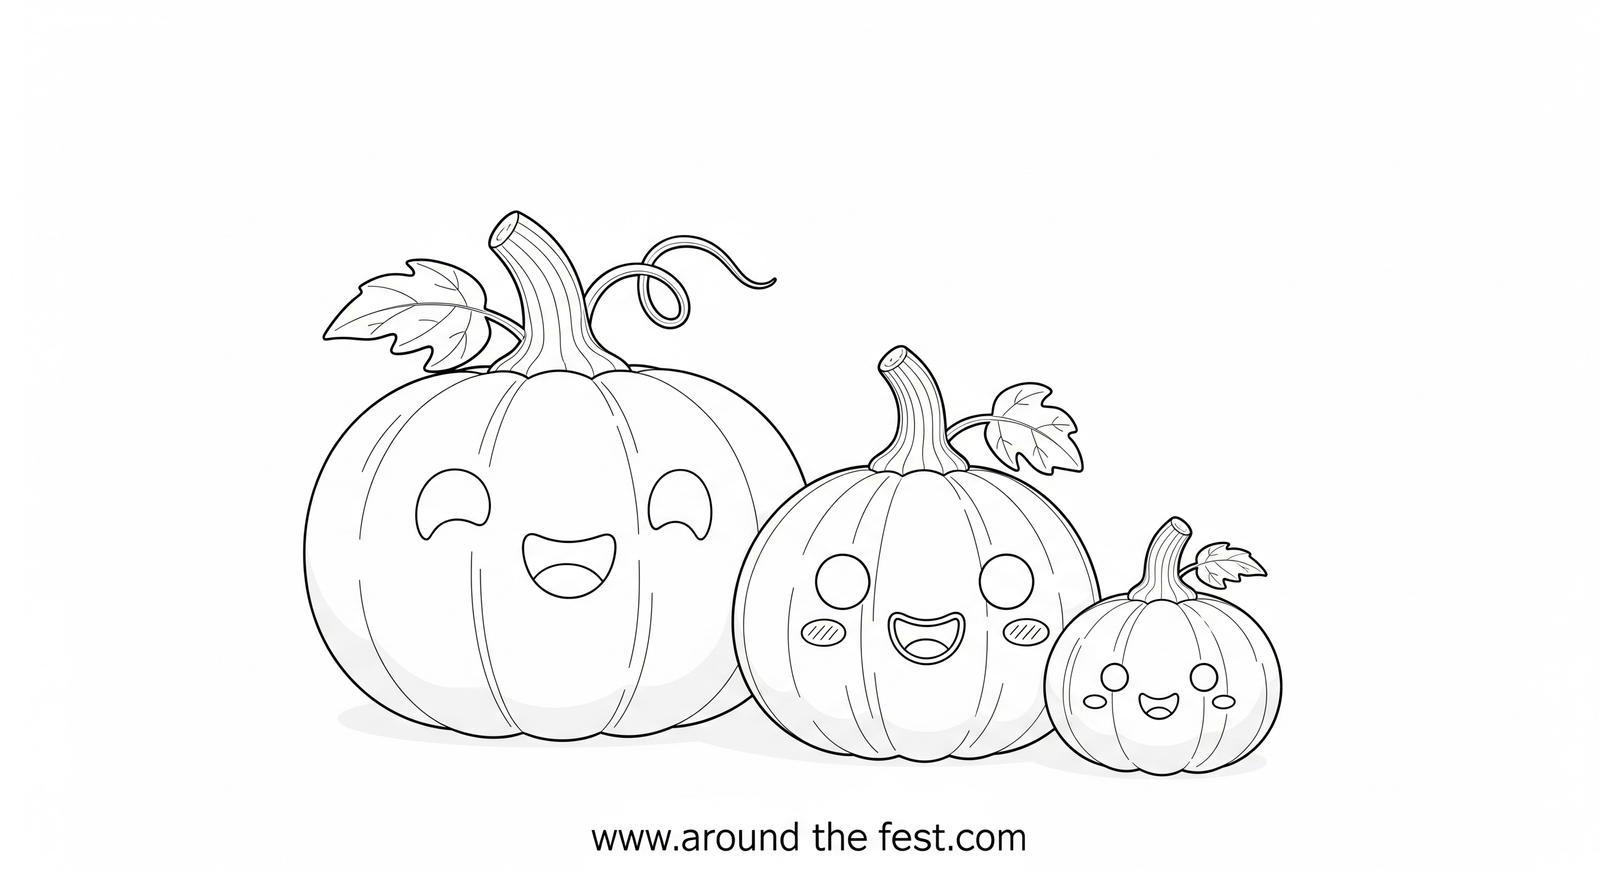
 4. Pumpkin Family drawing
 colouring sketch
1.
2.
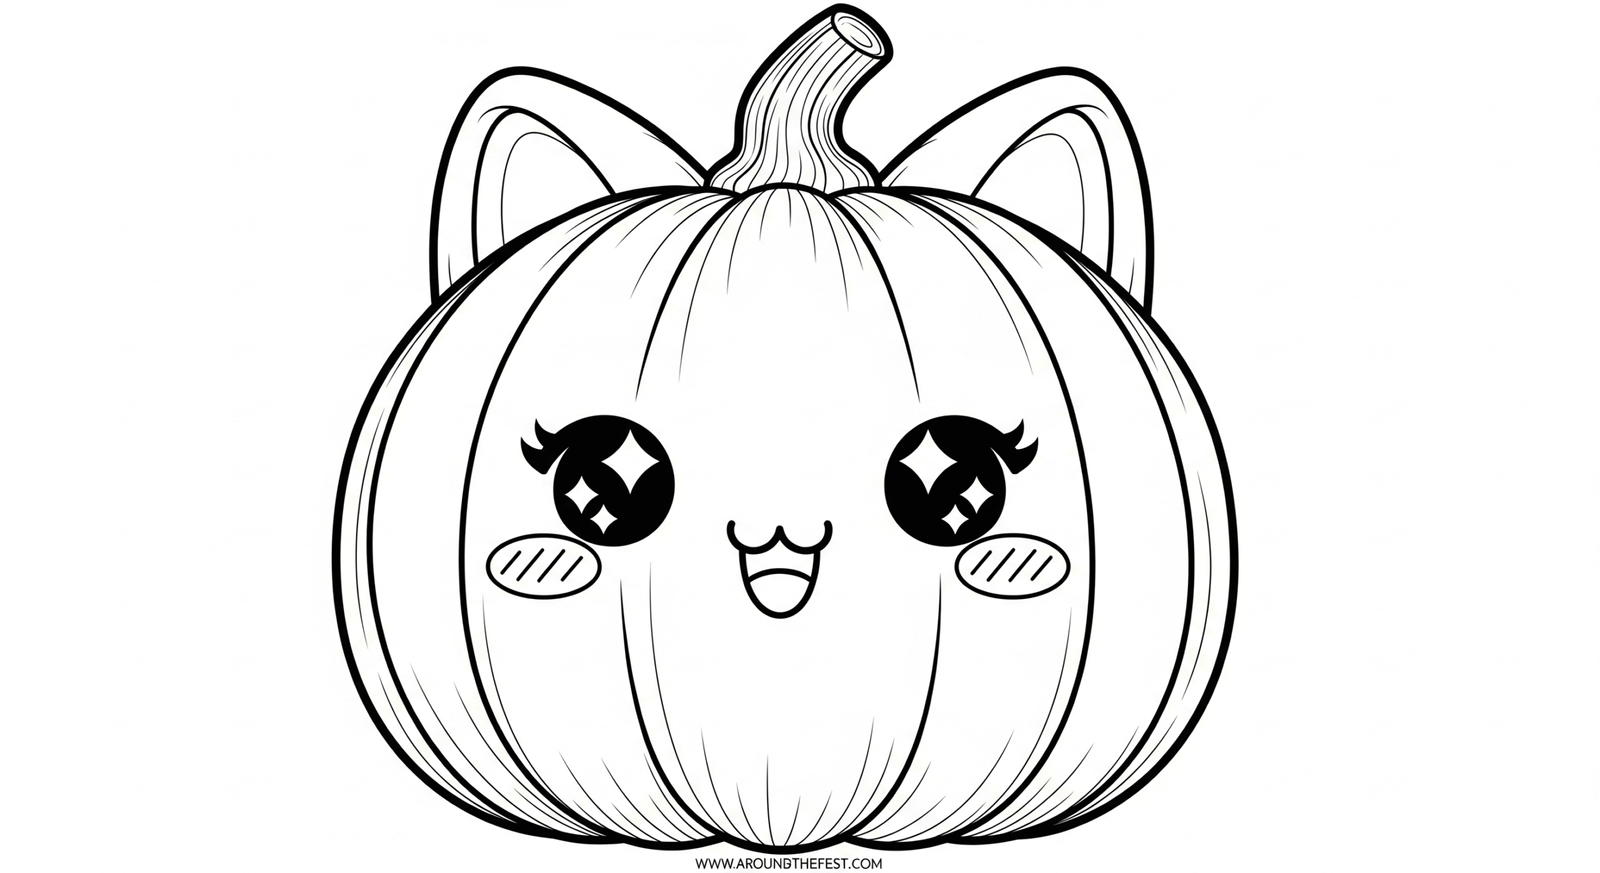
5. Pumpkin with Cat Ears
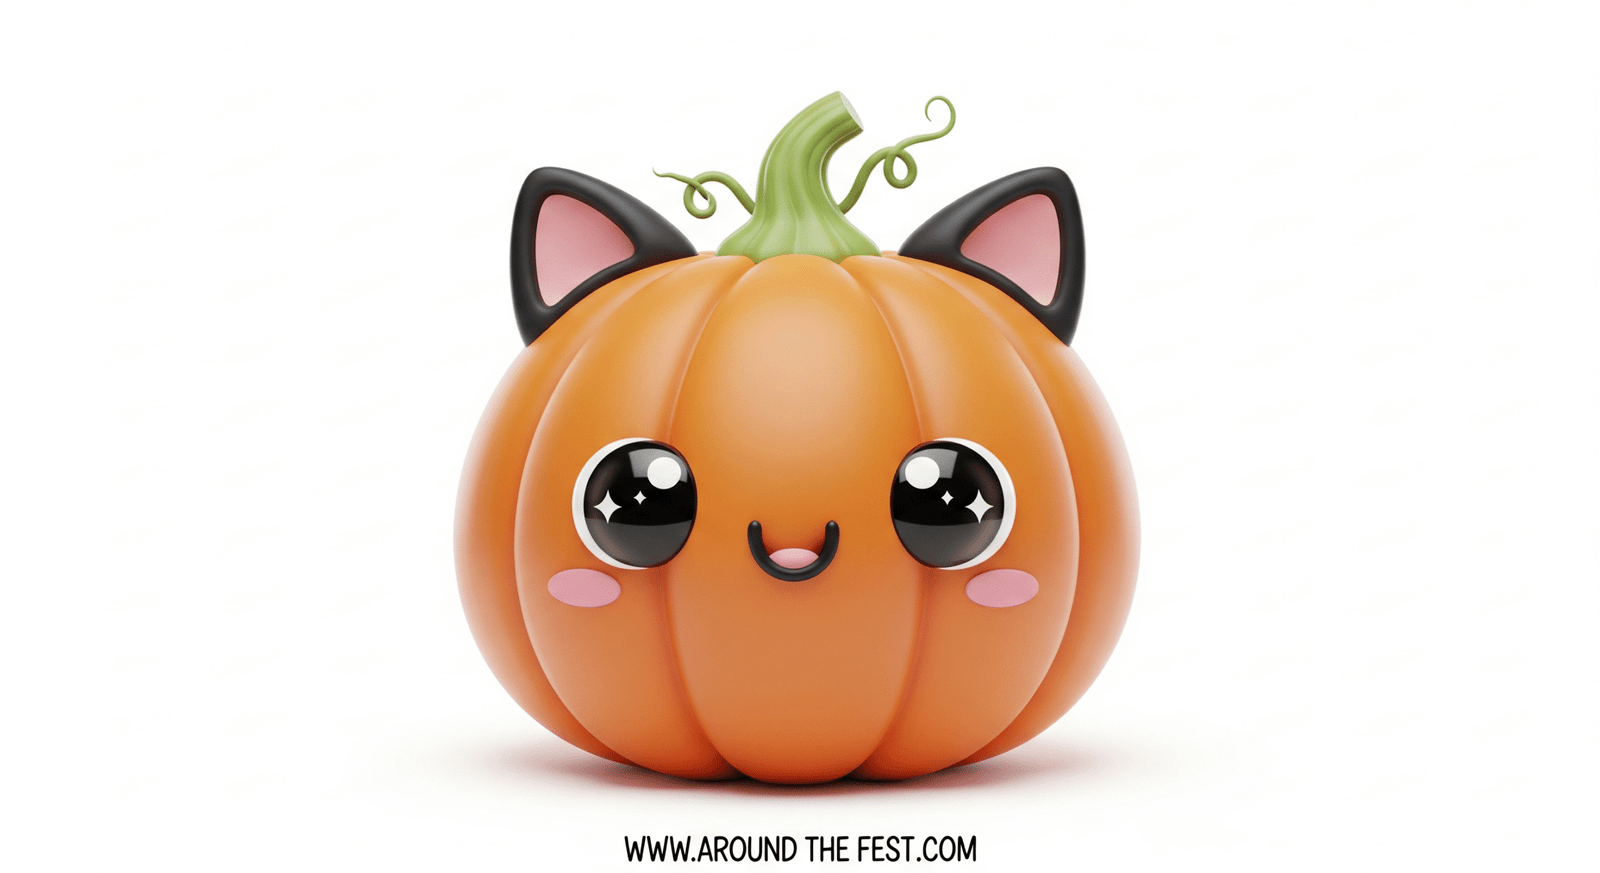
colouring sketch
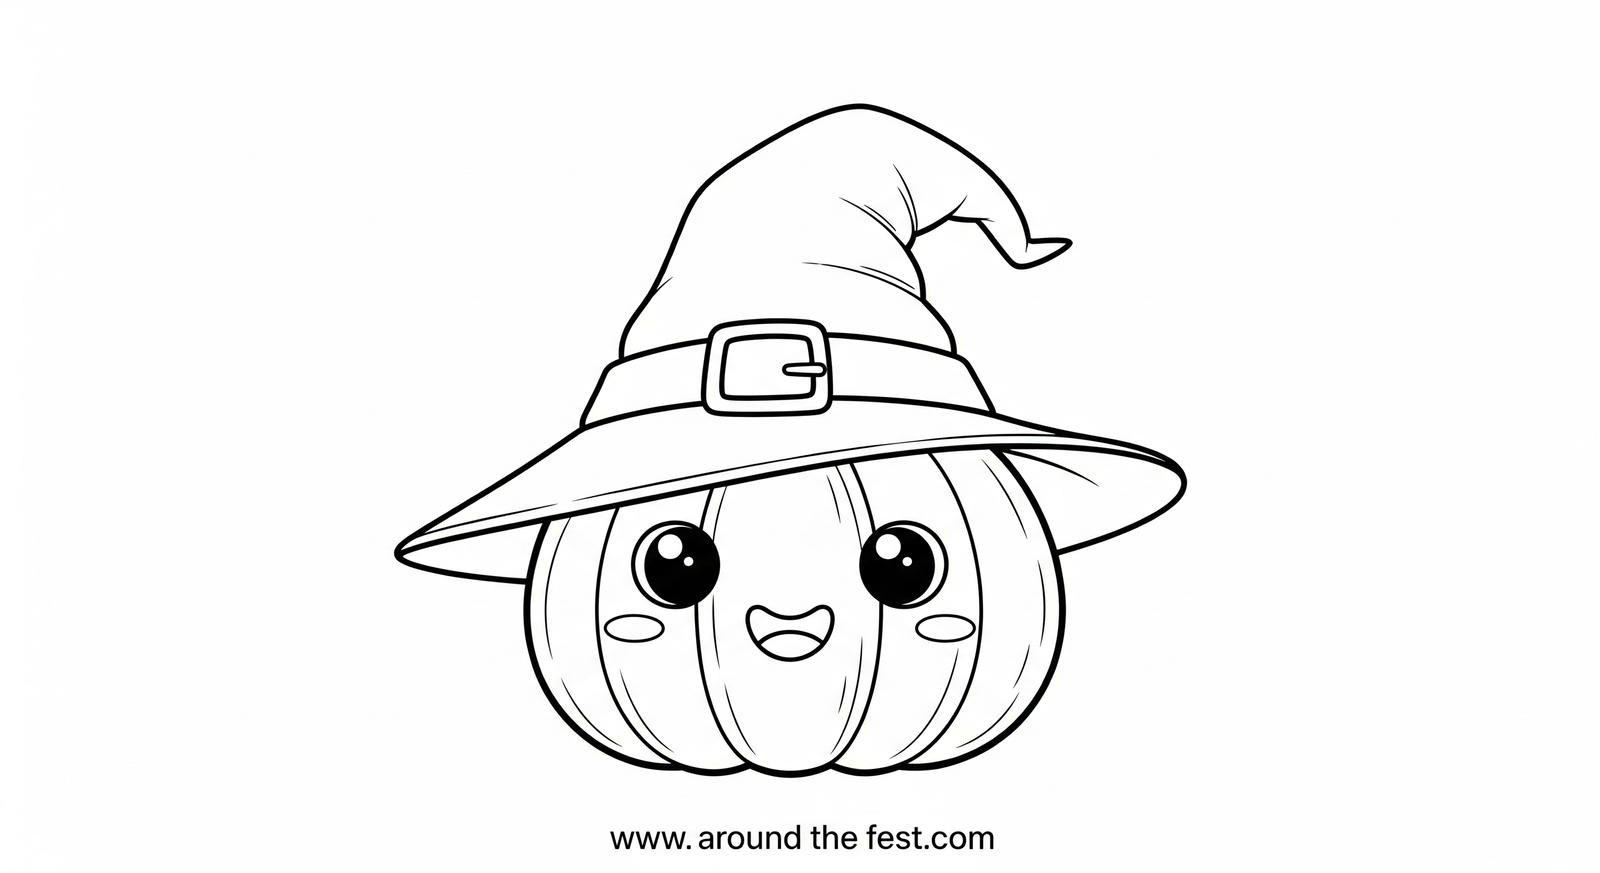
6. Pumpkin with Witch Hat
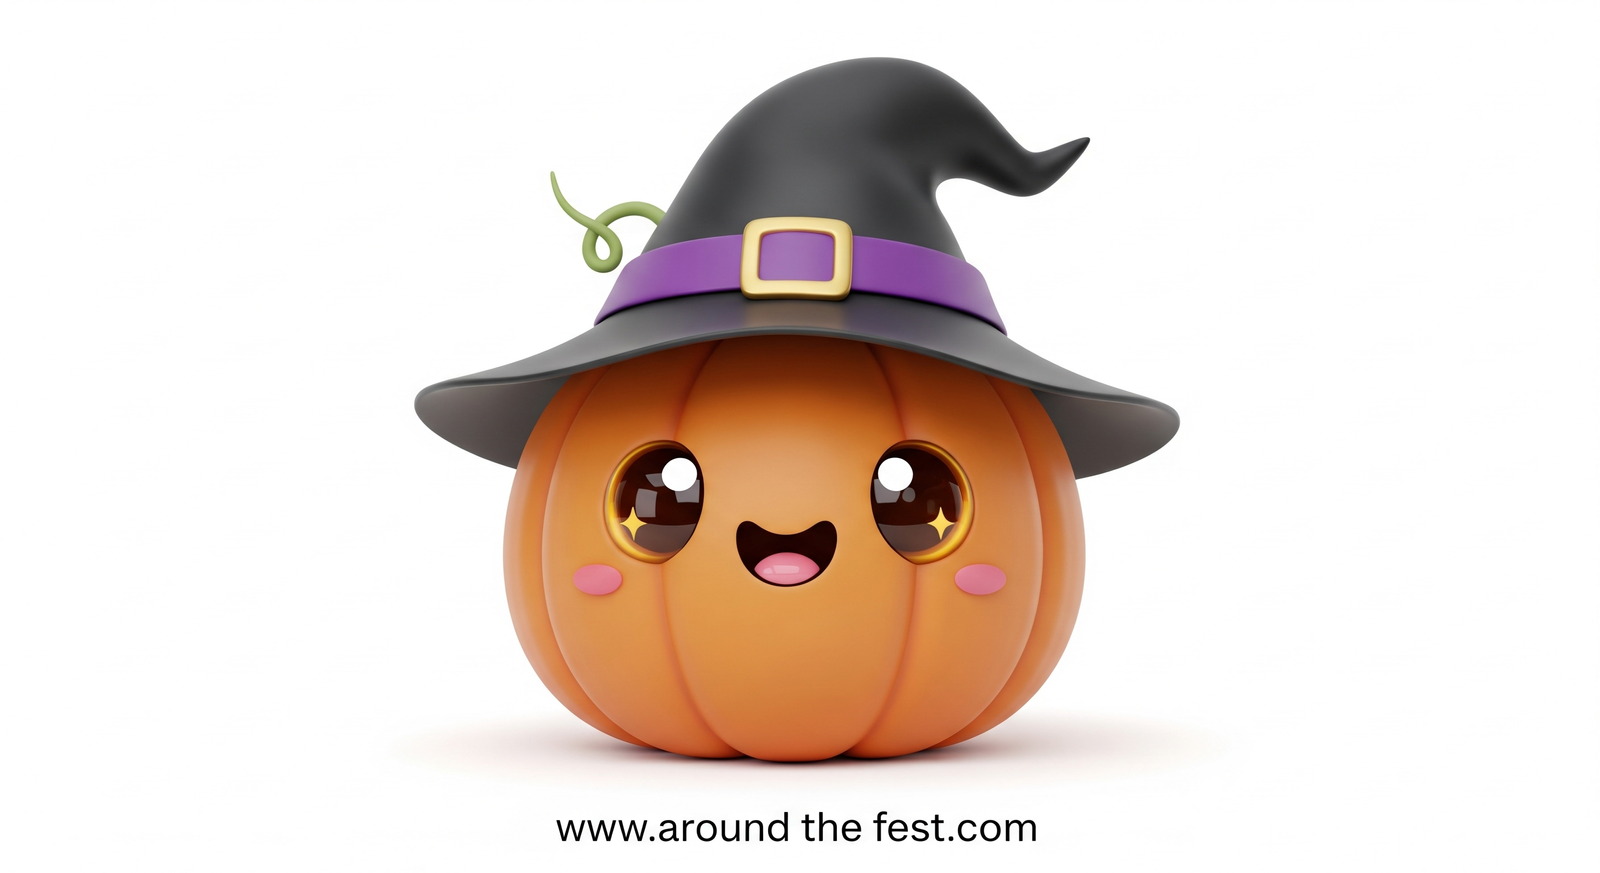
colouring sketch
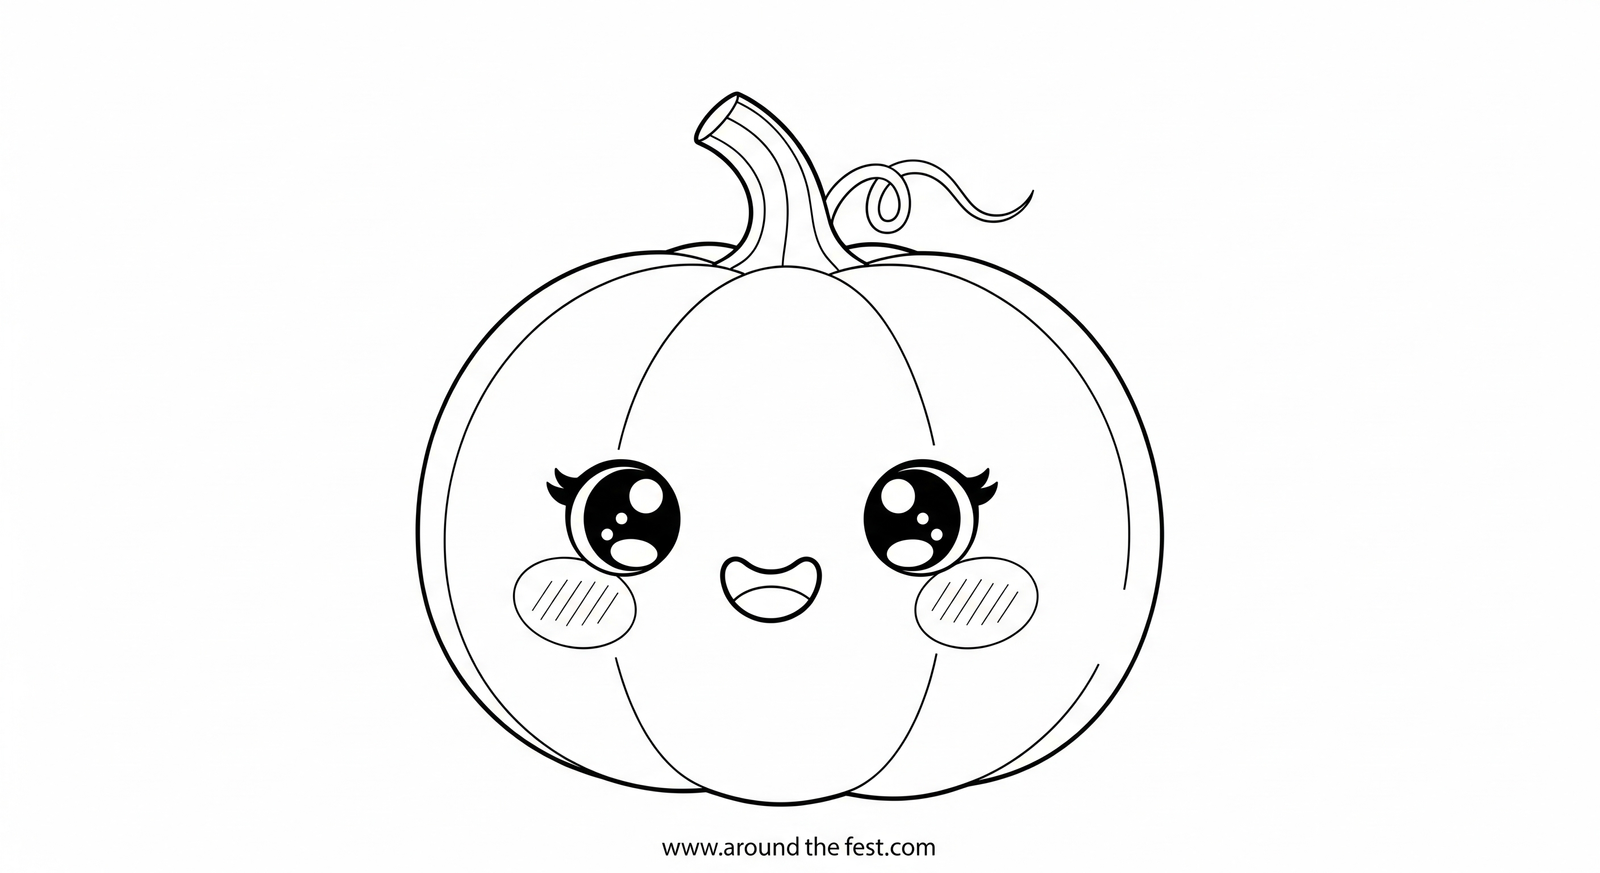
7. Blushing Pumpkin
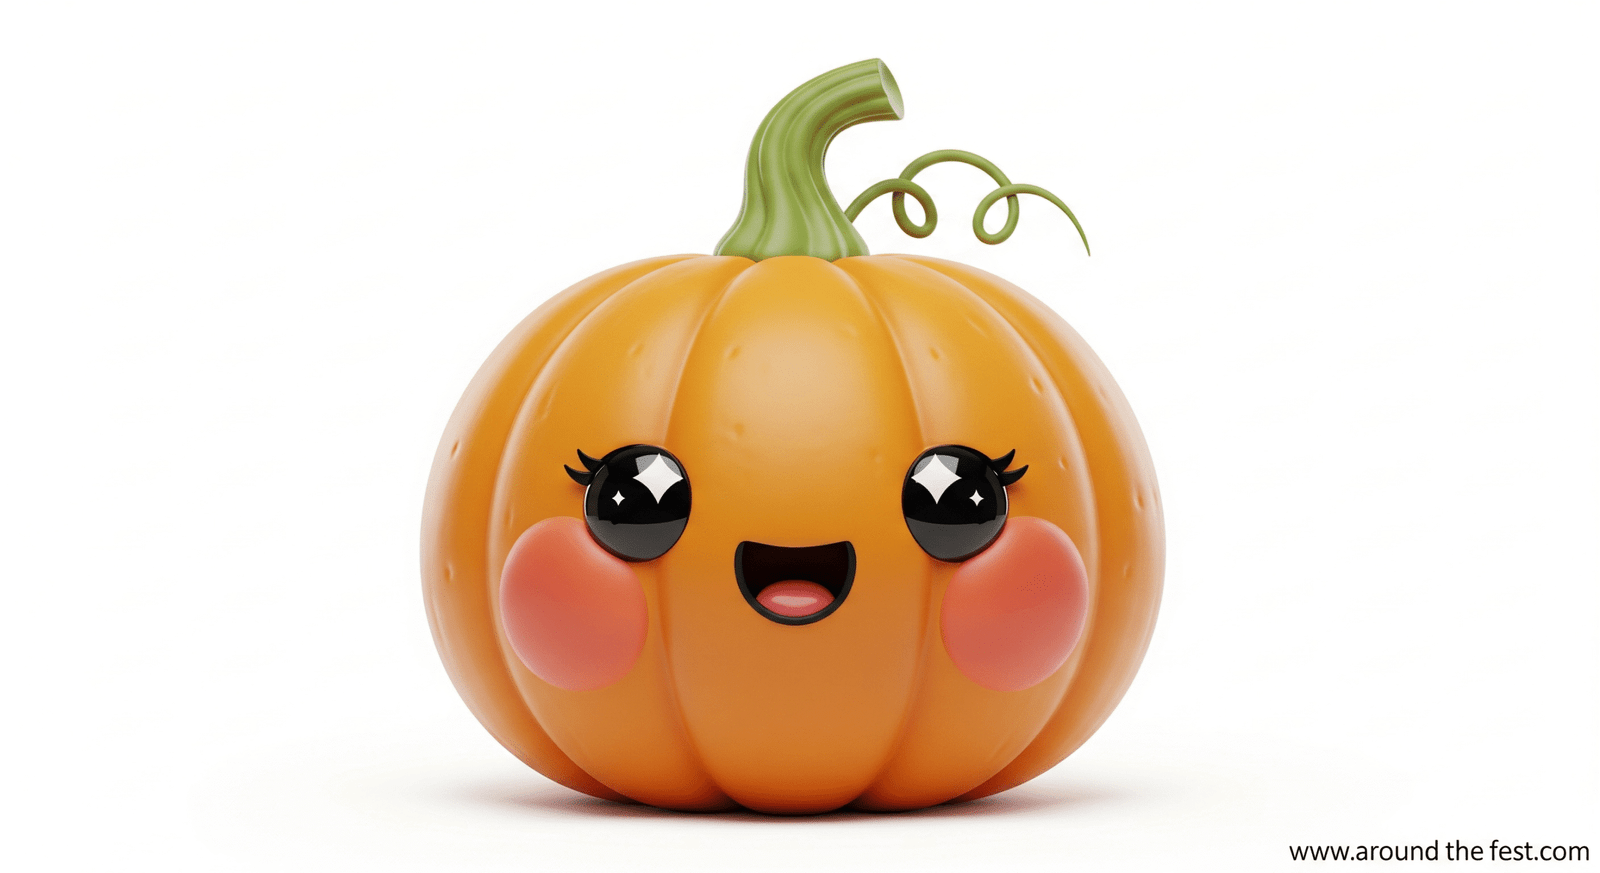
coloring sketch
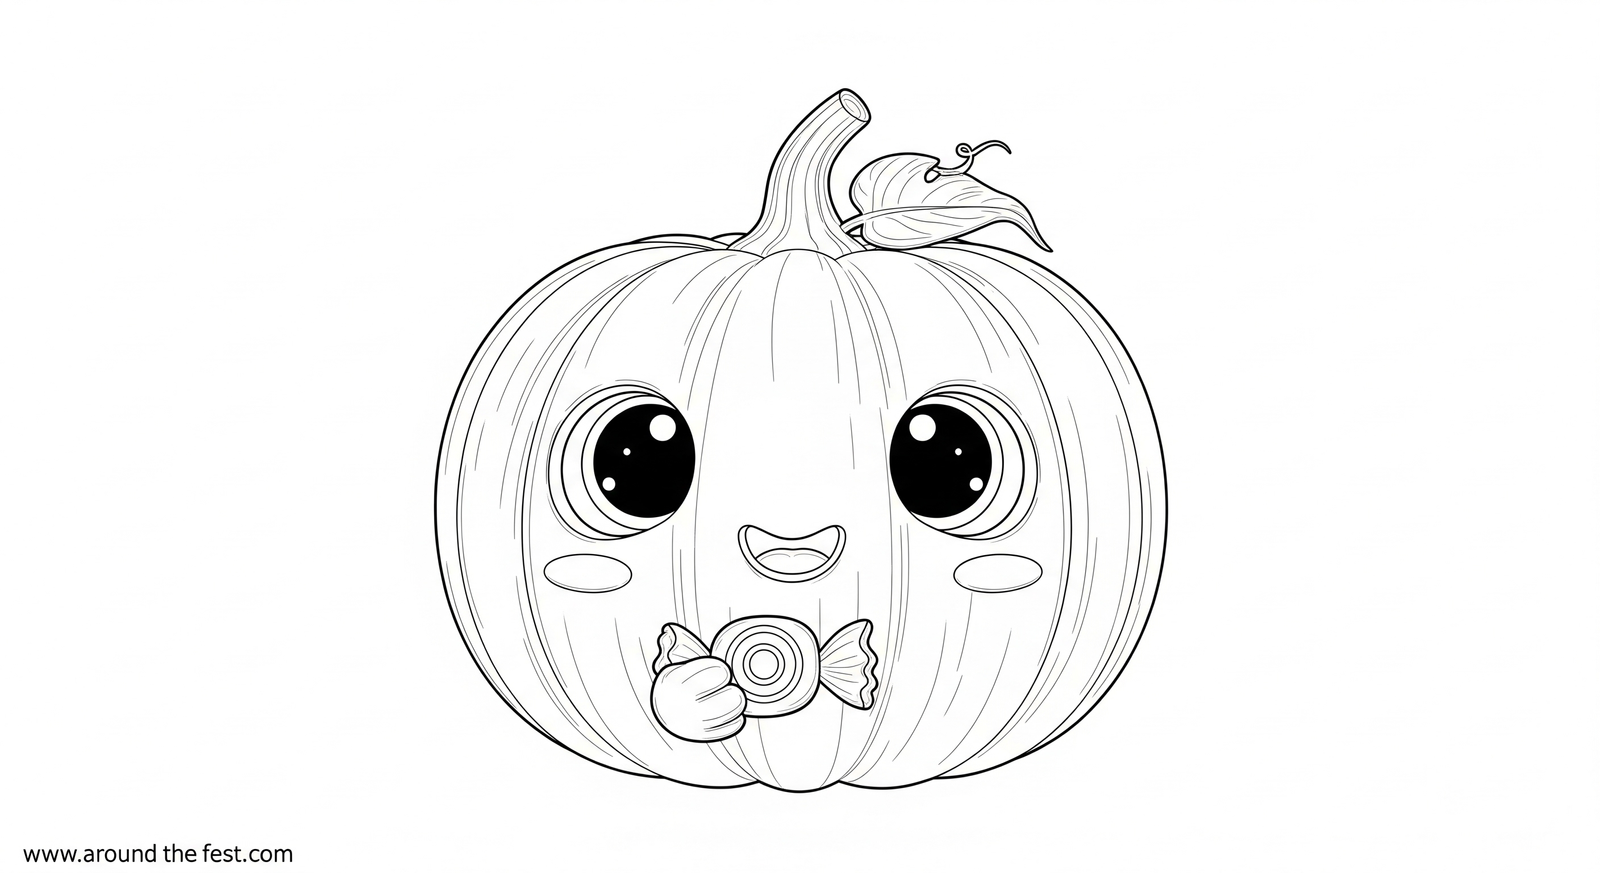
8. Pumpkin with Candy
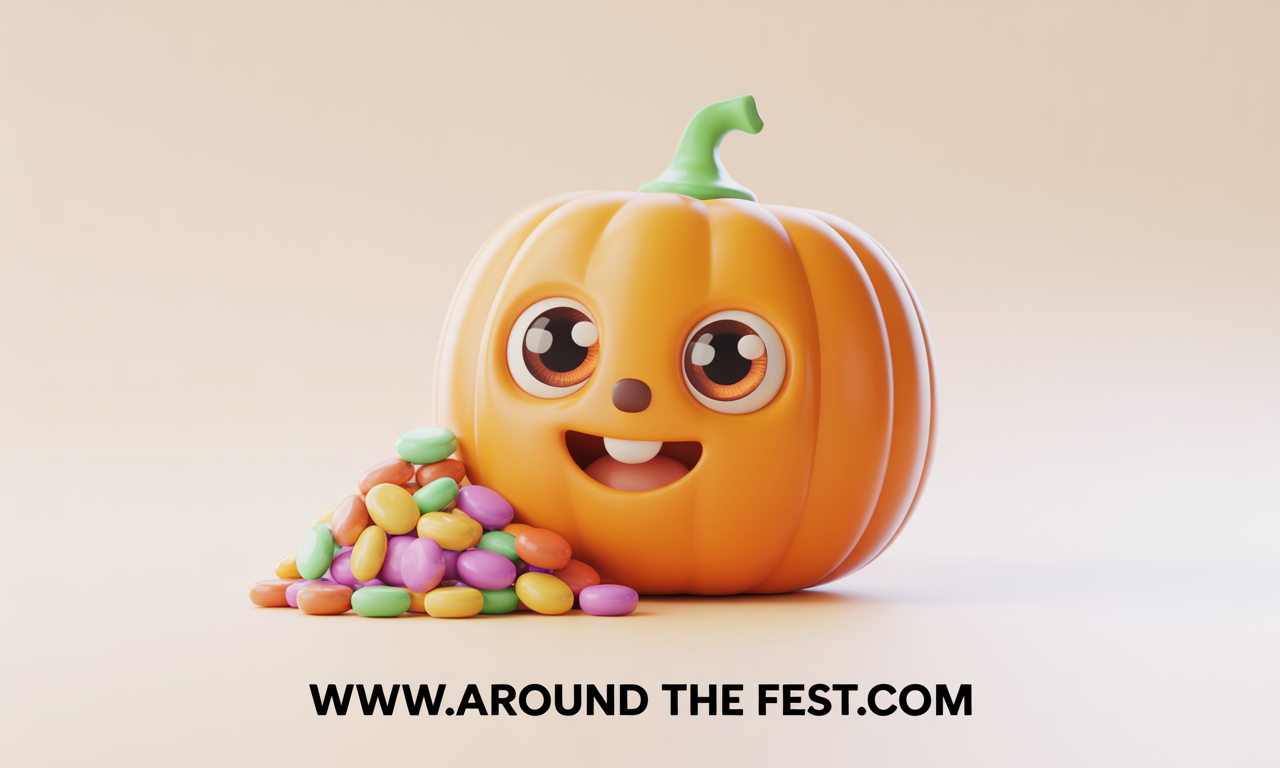 coloring sketch
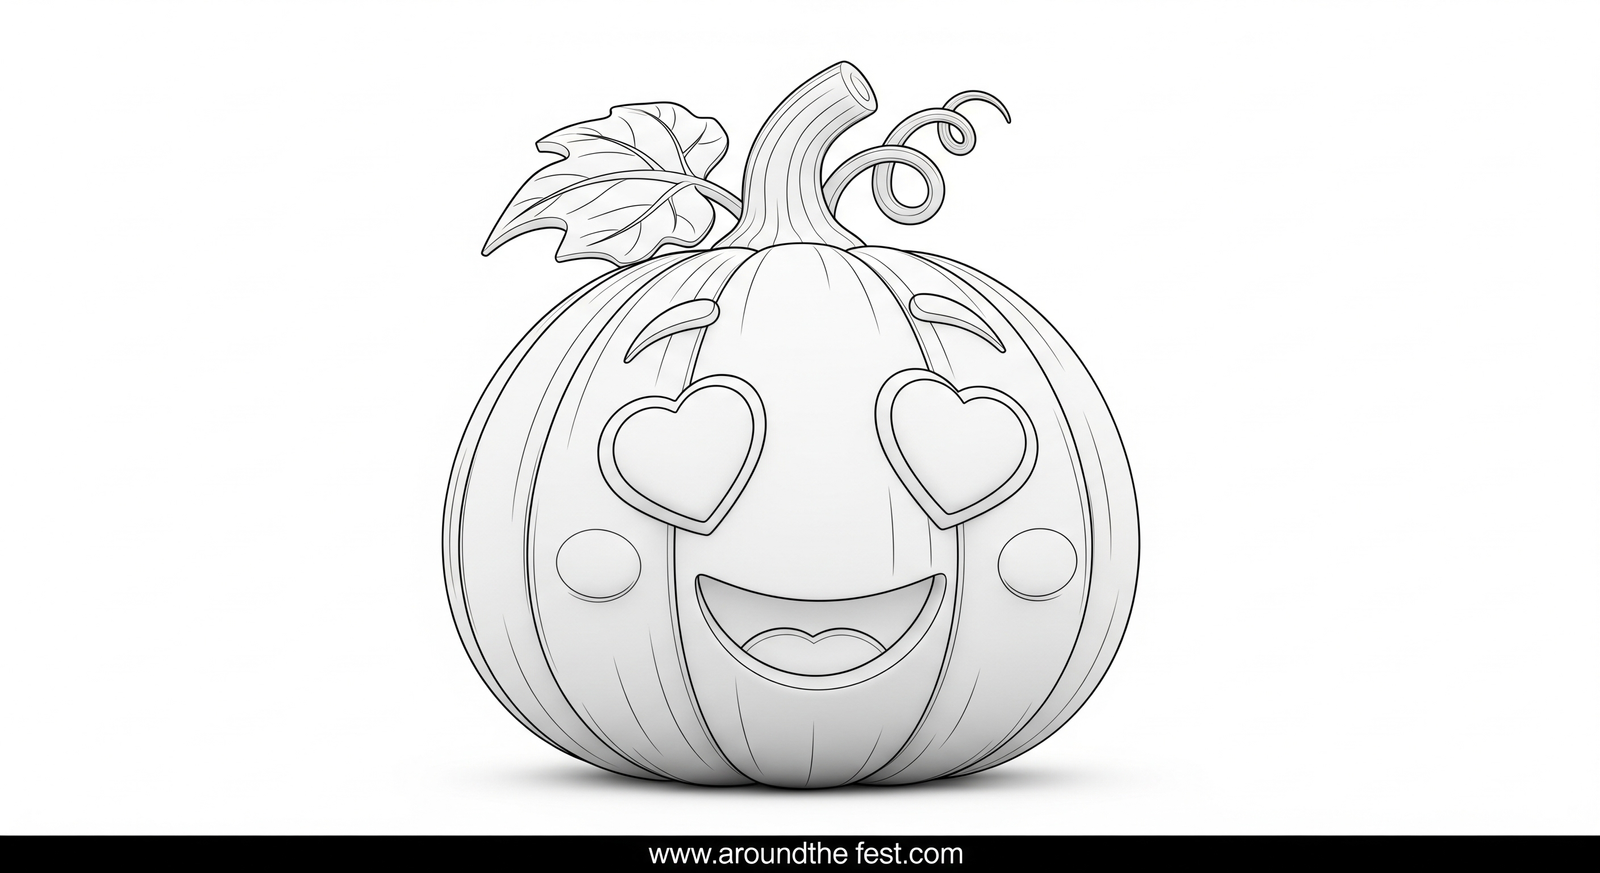
9. Heart-Eyed Pumpkin

coloring sketch
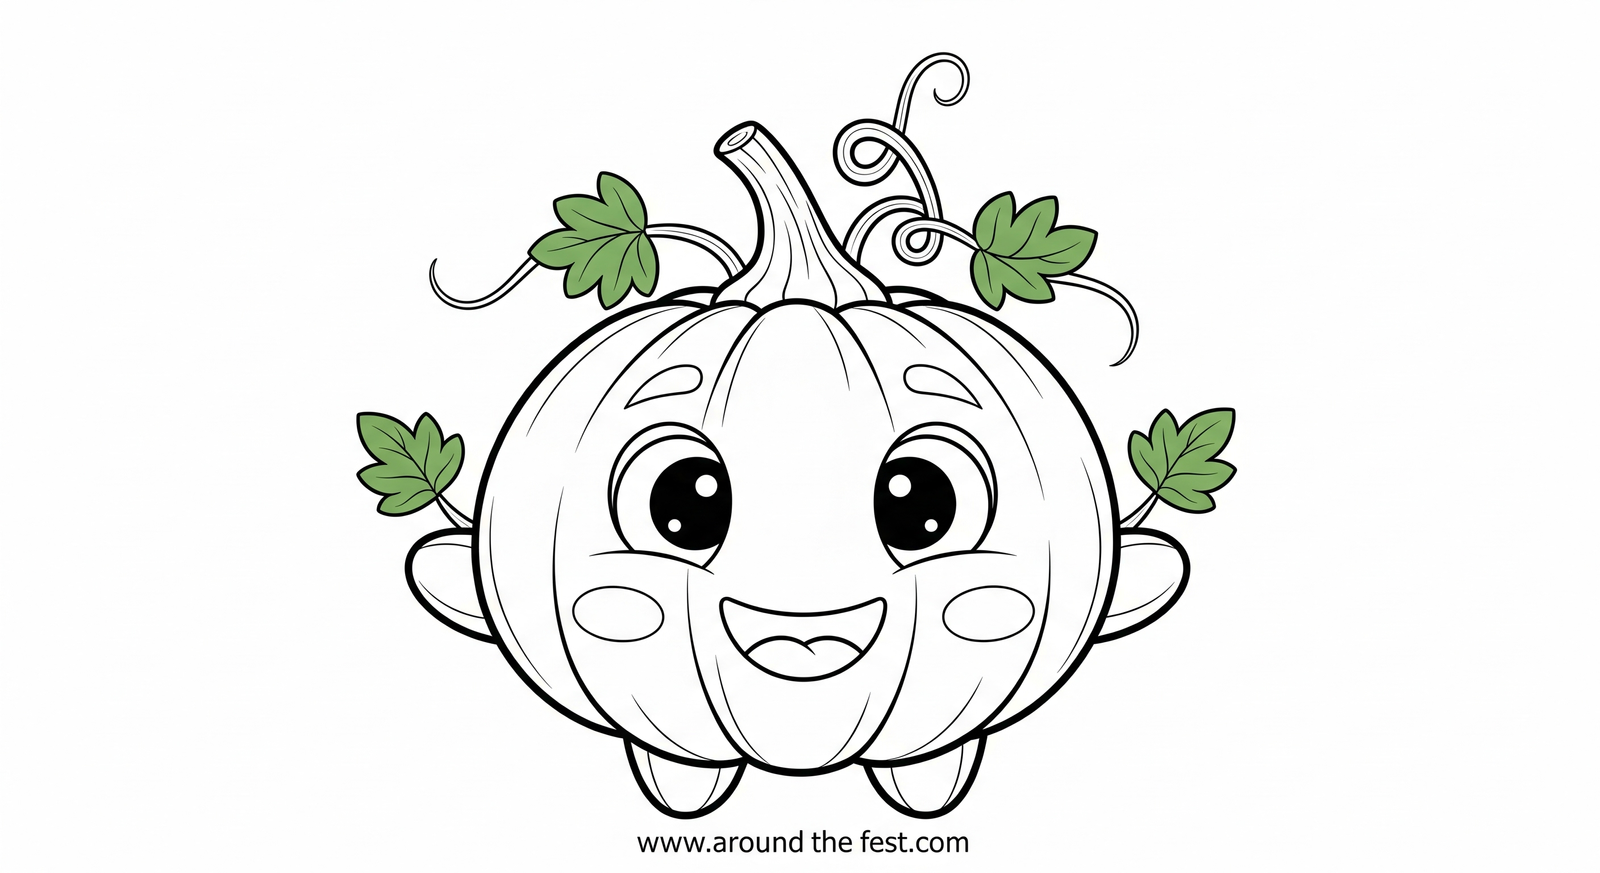
10. Pumpkin with Leaf Arms
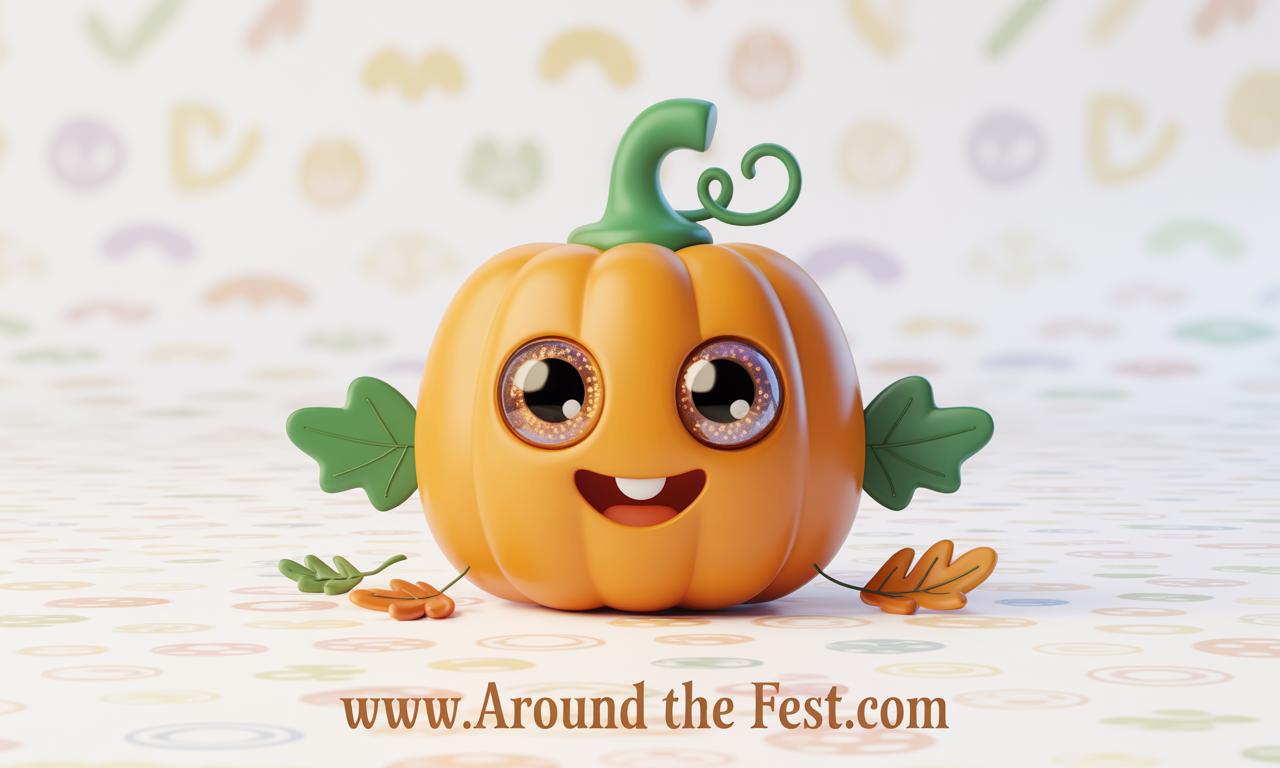
coloring sketch
 FAQs on pumpkin drawing tutorial with pictures
Q: What’s the easiest way to draw a pumpkin for kids?
A: Start with a simple oval, add curved ridges, and a small stem. Keep it playful.
Q: Can I draw a pumpkin without a reference?
A: Yes! Use basic shapes and adjust details as you go. References help but aren’t required.
Q: What colors blend best for pumpkin shading?
A: Orange, yellow, and red layered lightly for a natural gradient.
Q: How do I digitize my pumpkin sketch?
A: Scan or photograph it, then edit in apps like Procreate or Photoshop.
Q: How do you draw a simple pumpkin for beginners?
A: Start by sketching a horizontal oval for the pumpkin’s body. Add a curved stem at the top and draw vertical lines to create the pumpkin’s ridges. Finish by adding shading or color to bring your drawing to life.
Q: What materials do I need for a pumpkin drawing?
A: You’ll need drawing paper, a pencil, an eraser, colored pencils or markers for coloring, and optionally, a real pumpkin for reference.
Q: Can kids follow this pumpkin drawing tutorial?
A: Absolutely! This tutorial is designed to be kid-friendly with simple shapes, fun expressions, and playful sketches. Coloring tips and doodle-style pumpkins make it enjoyable for all ages.
Q: How can I add color to my pumpkin drawing?
A: Use colored pencils, markers, or watercolors to add color. Start with a base orange color for the pumpkin, then add yellows and reds for highlights and shadows to create depth.
Q: Are there advanced pumpkin drawing techniques?
A: Yes, for more detailed drawings, focus on shading to create a 3D effect, add intricate details like vines or leaves, and experiment with different pumpkin shapes and sizes.
Conclusion-pumpkin drawing tutorial with pictures
This pumpkin drawing tutorial with pictures makes it easy for anyone to create cute and fun pumpkin designs. From simple sketches to colorful kawaii pumpkins, you can follow the step-by-step images to bring your drawings to life. Perfect for beginners, kids, and fall craft lovers, this guide helps you practice, experiment, and share your pumpkin creations. Grab your pencil or digital tool, and start drawing your own pumpkins today!
Remember, practice makes perfect! Don’t hesitate to experiment with expressions, colors, and creative touches to make each pumpkin unique. Share your drawings with friends, post them online, or use them in your DIY fall crafts — the possibilities are endless.
![]()
![]()
![]()